Ibexa DXP version 3.3.2 April 2021
Level: beginner
Next Posts:
* How to move a local installation to Ibexa Cloud
* Using Lando for local development
This post explains how to install Ibexa DXP Experience version 3.3.2 using Postgresql as database and Elastic as search engine and It is the same path to follow to install Ibexa content. The Ibexa documentation is enough to follow but this post is focusing on the Experience Edition and serves as a quick guide.
Note: Ibexa commerce requires Solr and this might not be possible to use Elasticsearch. Be careful if you want to use some free available commerce features in Experience Edition e.g autosuggestion
The installation of Ibexa 3.3.2 is slightly different compared to the previous 3.0 until 3.2 versions. It introduces a new skeleton concept and the installation is very faster and fixes older v3 tags installation with incorrect package versions.
All preparation steps like Node.js, yarn, composer and Token generation are good documented in: Install Ibexa 3.3
let’s get started
Environement
For the installation I setup below docker images from Dockerhub and put all recipies in the docker-compose file:
Note: The goal of this post is not the Environement setups as you can have other preferences for the infrastructure.
Create project
|
1 |
composer create-project ibexa/experience-skeleton . |
Git setups
|
1 2 |
cp -a .gitignore.dist .gitignore git init; git add . > /dev/null; git commit -m "init" > /dev/null |
Dev environement file
|
1 |
cp -a .env .env.local |
Postgresql configuration
At this step you can create a copy of the
.env file for the dev environment
.env.local and add a database block at the end for better readability.
|
1 2 3 4 5 6 7 8 9 10 |
#DB DATABASE_USER=ezp DATABASE_PASSWORD=root DATABASE_NAME=ezp DATABASE_HOST=localhost DATABASE_PORT=5432 DATABASE_PLATFORM=postgresql DATABASE_CHARSET=utf8 DATABASE_VERSION=13 DATABASE_URL=${DATABASE_PLATFORM}://${DATABASE_USER}:${DATABASE_PASSWORD}@${DATABASE_HOST}:${DATABASE_PORT}/${DATABASE_NAME}?serverVersion=${DATABASE_VERSION}&charset=${DATABASE_CHARSET} |
Redis configuration
Below configuration take into account sessions and persistent cache.
ℹ️ Ideally keep both separated as Redis will then start to refuse new entries once full, including new sessions
.env / .env.local
|
1 2 3 4 5 6 |
#DB CACHE_DSN=localhost:6379 CACHE_POOL=cache.redis CACHE_NAMESPACE=exp SESSION_HANDLER_ID='ezplatform.core.session.handler.native_redis' SESSION_SAVE_PATH=localhost:6379 |
Adapt the yaml configuration:
config/packages/ezplatform.yaml
|
1 2 3 4 5 6 7 |
imports: - { resource: cache_pool/cache.redis.yaml } parameters: cache_pool: '%env(CACHE_POOL)%' ezplatform.session.handler_id: '%env(SESSION_HANDLER_ID)%' ezplatform.session.save_path: '%env(SESSION_SAVE_PATH)%' |
config/packages/framework.yaml
|
1 2 |
session: #handler_id: null |
Once the installation is done (see “Install Ibexa DXP” section below) and to be sure that data are stored in Redis you can review the cache used in the symfony Profiler toolbar or just monitor the data in redis:
|
1 |
docker exec -ti redis sh -c "redis-cli monitor" |
For sessions be sure that session are saved in redis
|
1 |
docker exec -ti redis sh -c "redis-cli monitor | grep SESSION" |
ℹ️ you can check the session cookie saved in the browser and compare it to the value in redis
|
1 |
1619873194.987656 [0 172.19.0.1:36142] "SETEX" "PHPREDIS_SESSION:......" |
Note: If you flush redis cache you are automatically logged out.
Create APP SECRET
below you have different ways to create the
APP_SECRET
|
1 2 3 4 5 |
openssl rand -hex 32 cat /dev/urandom | strings --bytes 1 | tr -d '\n\t [](){}"' | head --bytes 32 http://nux.net/secret ps | md5sum php -r "print bin2hex(random_bytes(32));" |
Adapt the APP_SECRET value in the .env as well as in .env.local
Install Ibexa DXP and create a database
|
1 |
╰─➤ php bin/console ibexa:install |
Output:
|
1 2 3 4 5 6 7 8 9 10 11 12 13 14 15 16 17 18 19 20 21 |
Creating database ezp if it does not exist, using doctrine:database:create --if-not-exists Database "ezp" for connection named default already exists. Skipped. Executing 206 queries on database ezp (postgresql) 206/206 [============================] 100% Executing 60 queries from .../vendor/ezsystems/ezplatform-kernel/data/postgresql/cleandata.sql on database ezp Executing 13 queries from .../vendor/ibexa/installer/src/bundle/Resources/install/sql/postgresql/landing_pages.sql on database ezp Executing 71 queries from .../vendor/ibexa/installer/src/bundle/Resources/install/sql/postgresql/content_data.sql on database ezp Executing 3 queries from .../vendor/ibexa/installer/src/bundle/Resources/install/sql/postgresql/workflows.sql on database ezp Executing 1 queries from .../vendor/ibexa/installer/src/bundle/Resources/install/sql/postgresql/user_settings.sql on database ezp Executing 6 queries from .../vendor/ibexa/installer/src/bundle/Resources/install/sql/postgresql/forms.sql on database ezp Executing 1 queries from .../vendor/ibexa/installer/src/bundle/Resources/install/sql/postgresql/date_based_publisher.sql on database ezp Executing 3 queries from .../vendor/ibexa/installer/src/bundle/Resources/install/sql/postgresql/permissions.sql on database ezp Search engine re-indexing, executing command ibexa:reindex Re-indexing started for search engine: eZ Platform Legacy (SQL) Search Engine Purging index... Re-creating index for 16 items across 1 iteration(s), using a single (current) process: 1/1 [============================] 100% < 1 sec/< 1 sec Finished re-indexing |
ℹ️ later we will use elastic instead of default legacy search engine
If you have installed pgadmin you can check the different table created

Generate graphql schema
|
1 |
╰─➤ php bin/console ibexa:graphql:generate-schema |
Run post scripts
|
1 |
╰─➤ composer run post-install-cmd |
Run Symfony Server using php7.4
|
1 2 |
╰─➤ echo 7.4 > .php-version ╰─➤ symfony serve |

Open the browser and go to 127.0.0.1:8000
Backend Login
Browse to
127.0.0.1:8000/admin and login with default credentials:
username: admin
password: publish
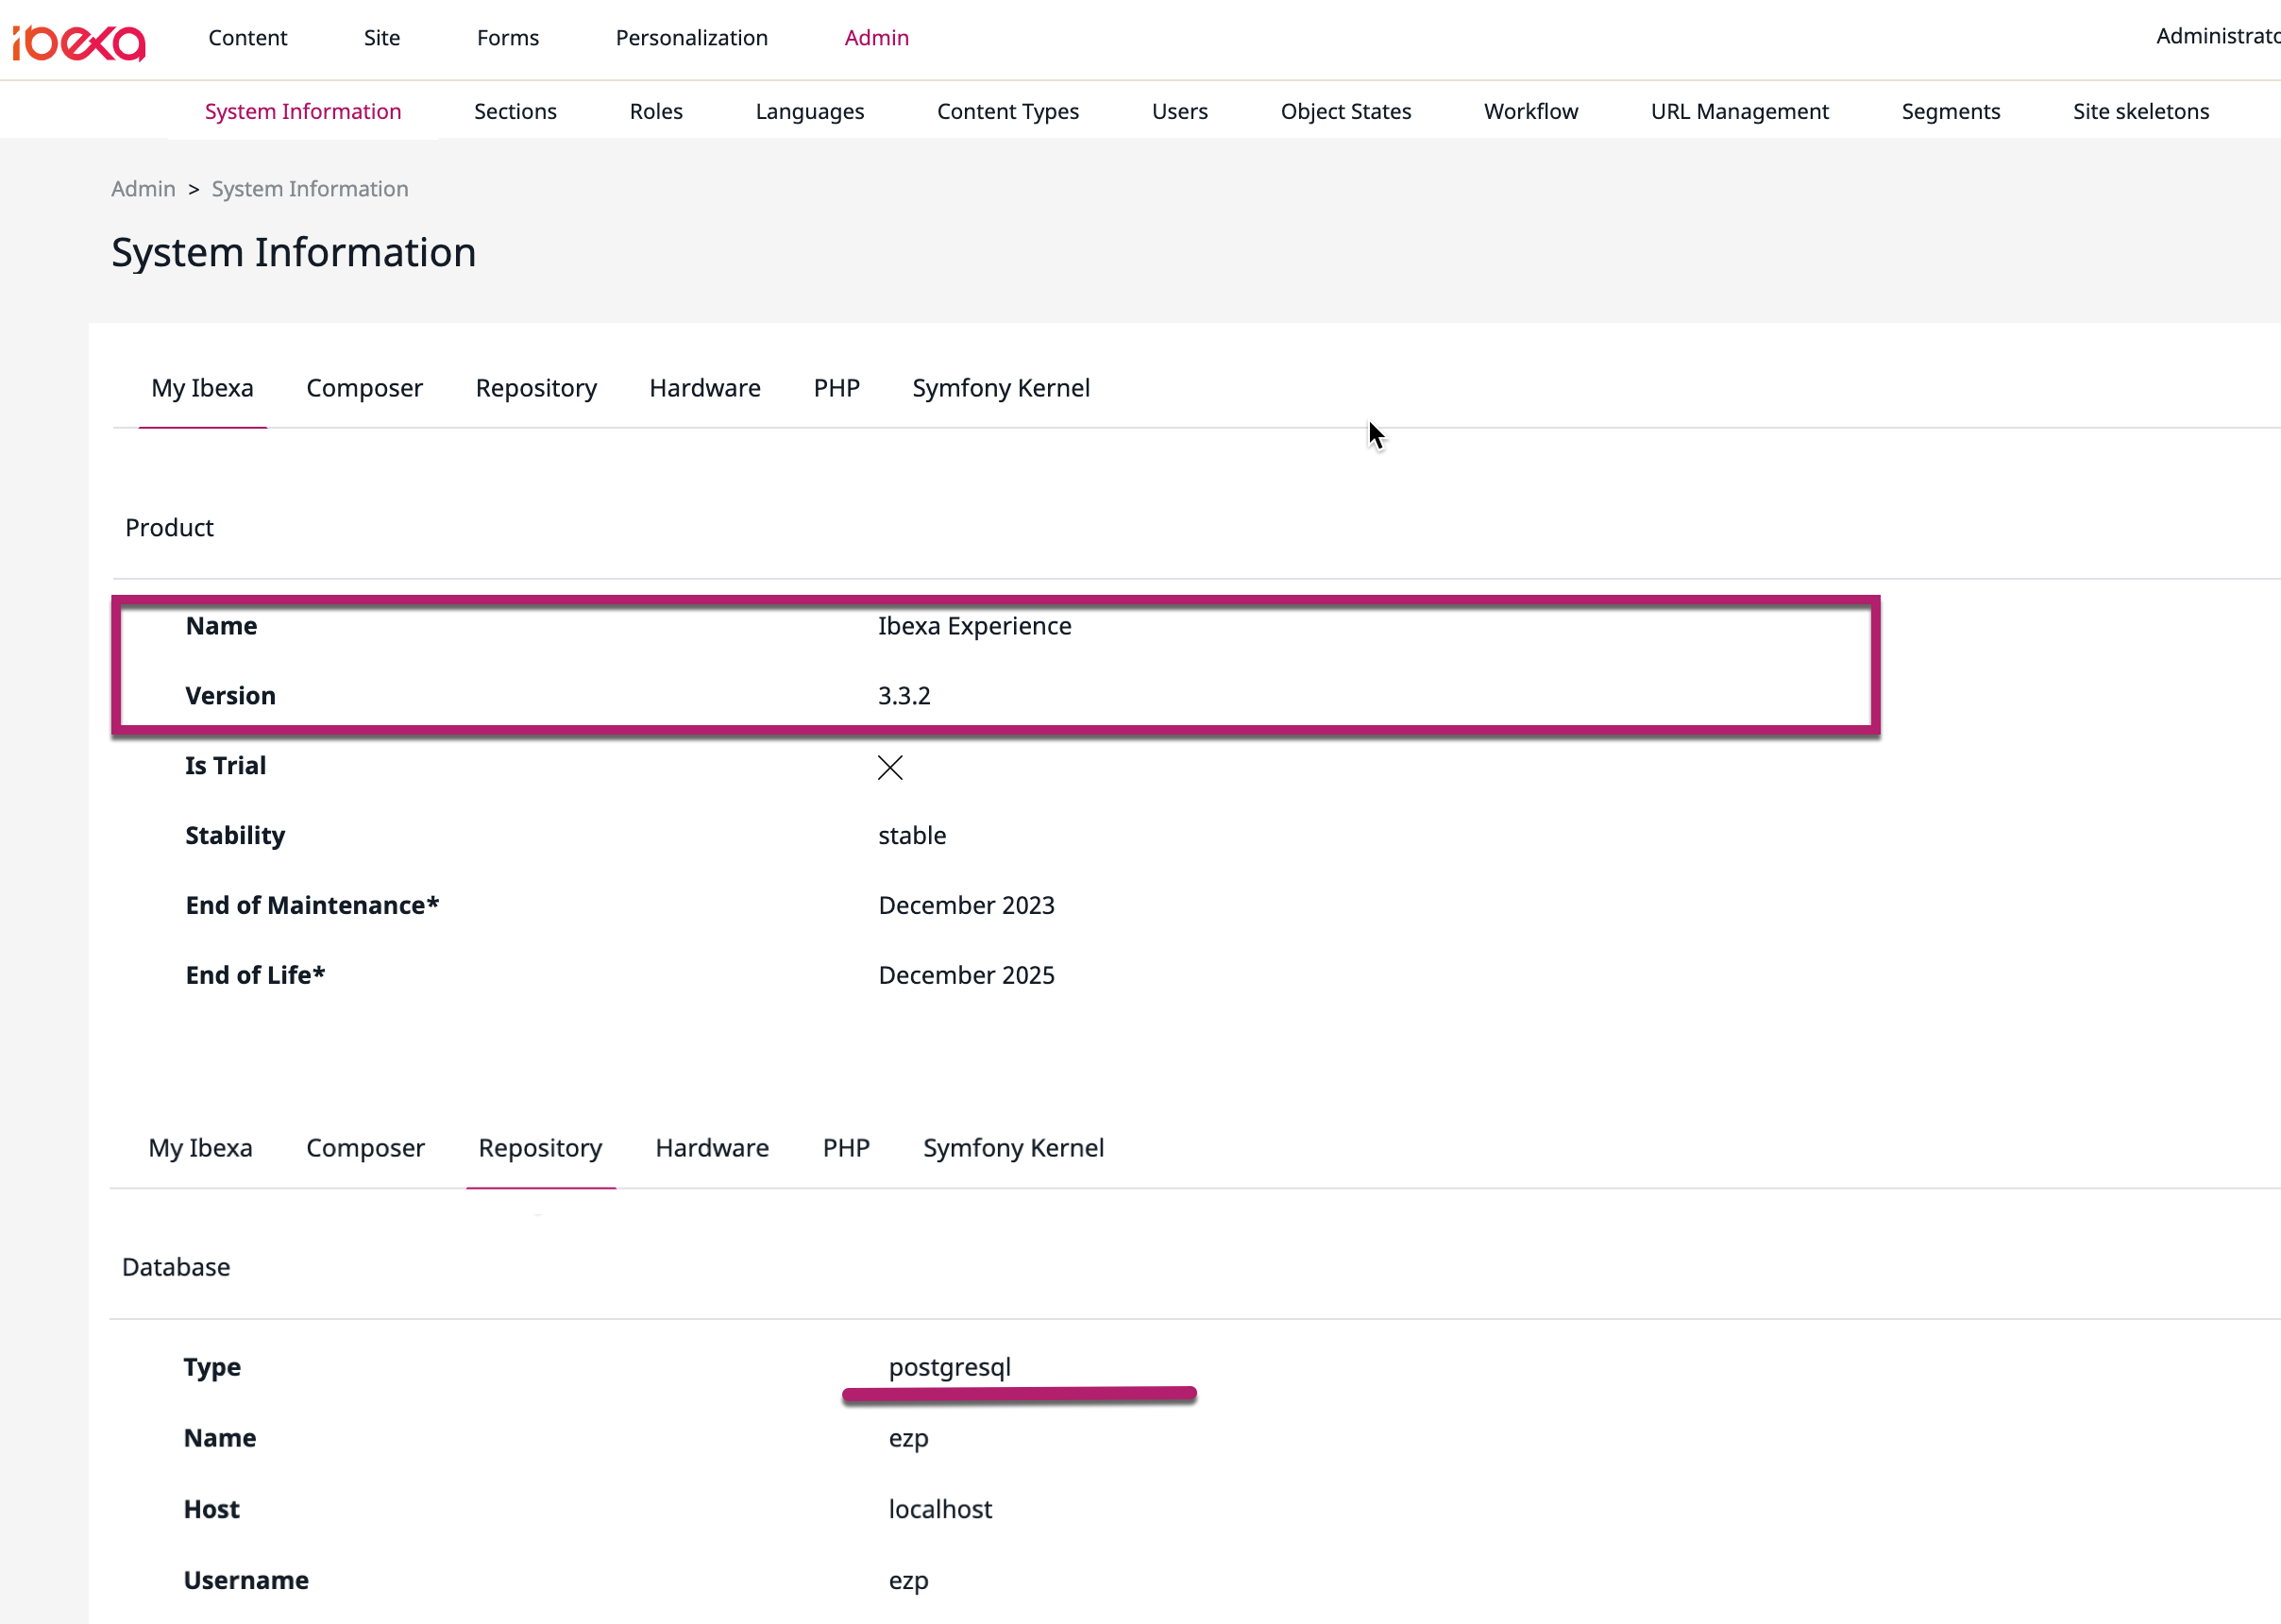
In the admin > System Information you will see something like below screen:
Elasticsearch configuration
Switch from legacy to Elasticsearch
.env /
.env.local
|
1 2 |
SEARCH_ENGINE=elasticsearch ELASTICSEARCH_DSN=http://localhost:9200 |
Note:At this step the content will not be correctly displayed in the backend
Push the templates
|
1 |
php bin/console ibexa:elasticsearch:put-index-template |
Reindex the database
|
1 |
php bin/console ibexa:reindex |
you can get some information about the content using the CLI:
|
1 2 3 |
curl -X GET "localhost:9200/default_location_eng_gb_42/_search" {"took":1,"timed_out":false,"_shards":{"total":1,"successful":1,"skipped":0,"failed":0},"hits":{"total":{"value":1,"relation":"eq"},"max_score":1.0,"hits":[{"_index":"default_location_eng_gb_42","_type":"_doc","_id":"location-2-eng-GB","_score":1.0,"_source":{"location_id_id":"2","content_id_id":"52","parent_id_id":"1","location_remote_id_id":"f3e90596361e31d496d4026eb624c983","path_string_id":"\/1\/2\/","priority_i":0,"depth_i":1,"location_ancestors_mid":["1"],"is_main_location_b":true,"hidden_b":false,"invisible_b":false,"content_remote_id_id":"34720ff636e1d4ce512f762dc638e4ac","content_name_s":"Ibexa Digital Experience Platform","content_type_id_id":"42","content_type_group_id_mid":["1"],"content_owner_user_id_id":"14","content_owner_user_group_id_mid":["4","12","14"],"content_main_language_code_id":"engGB","content_always_available_b":true,"section_id_id":"1","section_identifier_id":"standard","section_name_s":"Standard","content_modification_date_dt":"2015-09-17T09:22:23Z","content_publication_date_dt":"2015-09-17T09:22:23Z","object_state_id_mid":["1"],"content_translated_name_s":"Ibexa Digital Experience Platform","content_language_codes_ms":["eng-GB"],"content_version_no_i":1,"content_language_codes_raw_mid":["eng-GB"],"content_version_creator_user_id_id":"14","meta_indexed_language_code_s":"eng-GB","meta_indexed_is_main_translation_b":true,"meta_indexed_is_main_translation_and_always_available_b":true,"name_is_empty_b":false,"landing_page_name_value_s":"Ibexa Digital Experience Platform","landing_page_name_fulltext_fulltext":["Ibexa Digital Experience Platform"],"description_is_empty_b":false,"landing_page_description_value_s":"You are now ready to start your project.","landing_page_description_fulltext_fulltext":["You are now ready to start your project."]}}]}} |
or using the Kibana console:
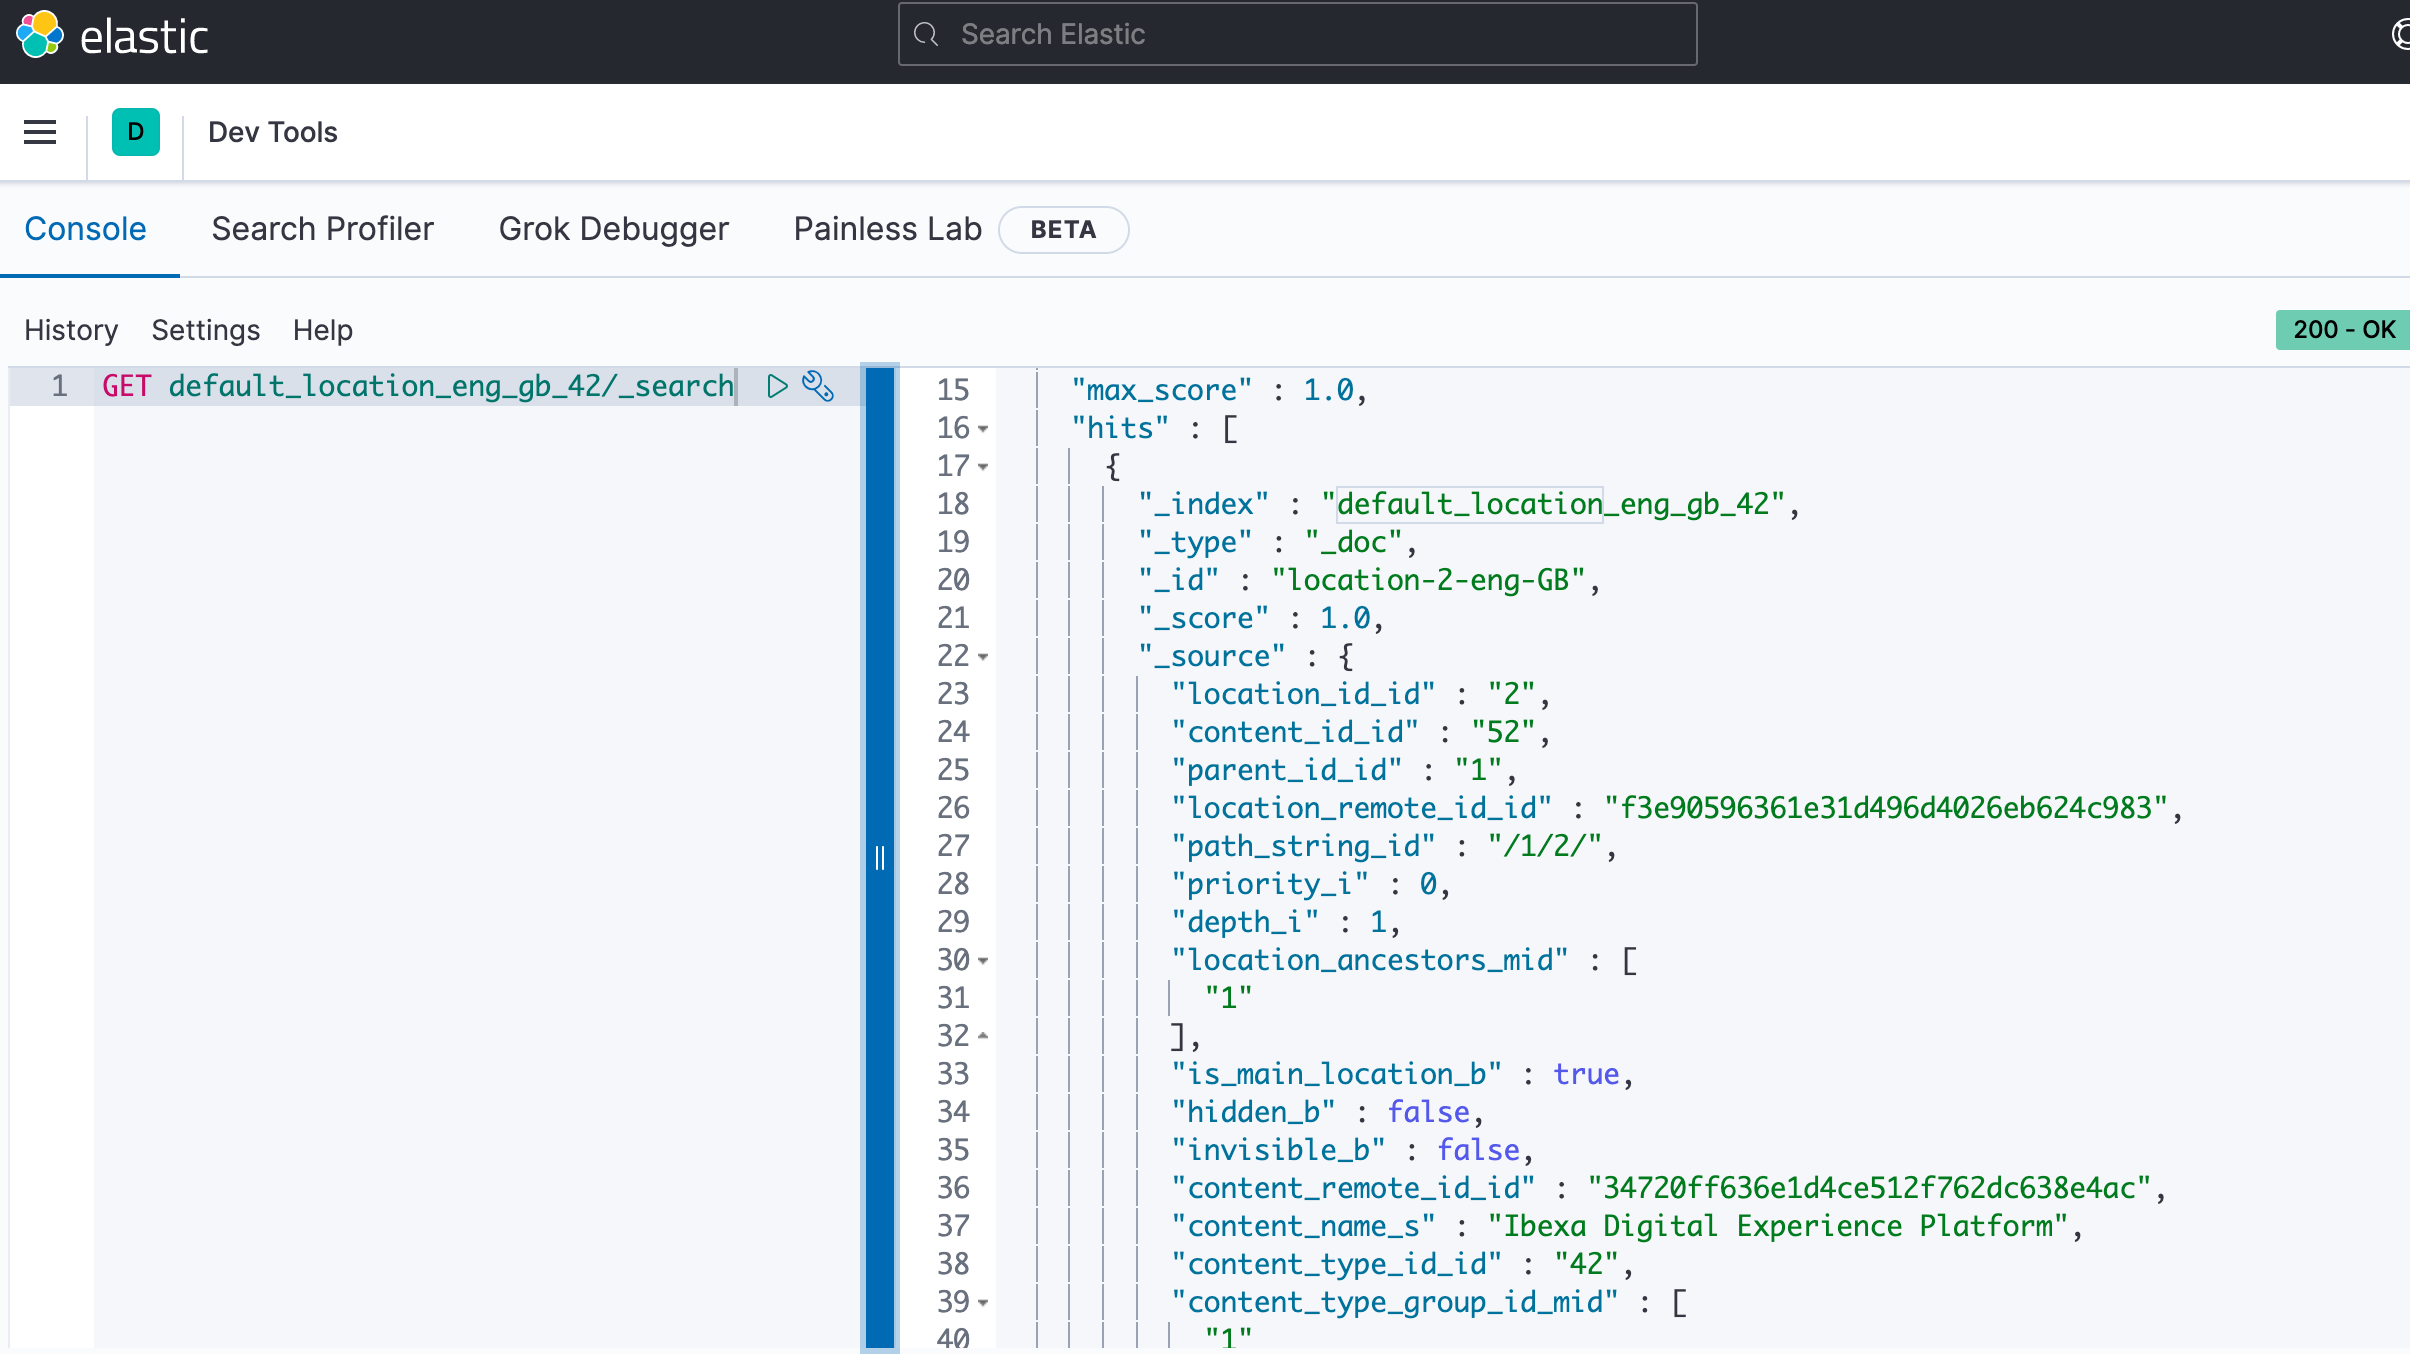
At this step the content is available again in the backend.